
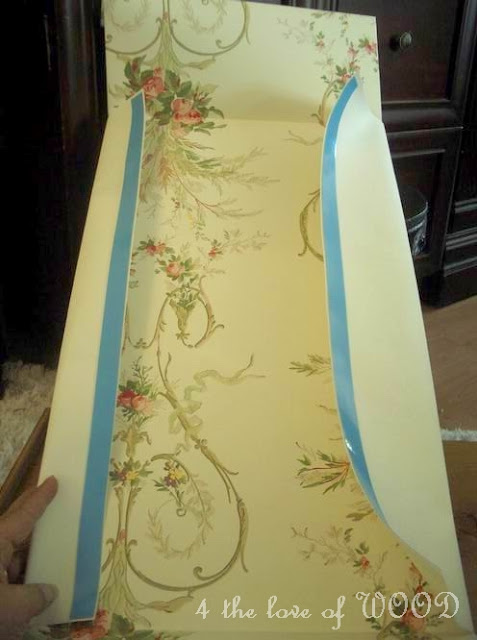
Part 1 showed you how to cut and fold your drawer liner.
Part 2 is how to adhere non pre-pasted wallpaper in your drawers.
You can buy a bucket of wallpaper paste
or you can use double sided tape.
Your drawer has to be dust free before you start.
I run a strip along the front and back edge of the drawer bottom.
Next I run strips along the papers edge on the front and back flaps.
Inside the drawer, start exposing the stick side of the tape.
Now drop your paper liner into the drawer, smoothing from the center out to the exposed tape.
Next remove the tape backing on the front and back flaps.
One at a time, press the front and back flaps into place.
Always start in the center and work your way to the outer edges.
Here is the front edge once smoothed out and stuck into place.
Now its time for the side flaps. As before stick your double side
tape to the top inside edge of the side flap, expose the sticky side and press it into place.
There is your completed drawer lining.
I chose not to trim the excess paper on this job because the
extra volume adds a pillowy or padded effect to
the sides which I wanted. If I was using a pre-pasted
paper and gluing it in, I would trim the excess.


0 komentar:
Posting Komentar